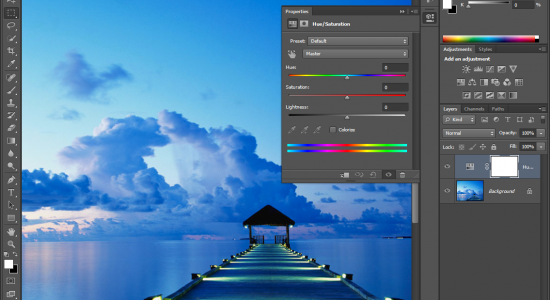
In this tutorial we will look at the quick and easy way to convert multiple RAW files to JPG. (or TIFF and PSD) This can save you an enormous amount of time if, like me, you shoot everything in RAW. Note, that I will be using Photoshop CS5 for this tutorial, but the process will be similar in previous versions as well.
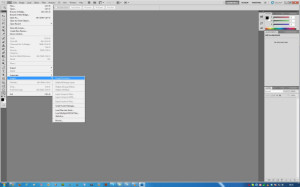
First open up Photoshop and then the Image Processor via File>Scripts>Image Processor.
1] Locate & select the RAW files that you wish to batch convert.
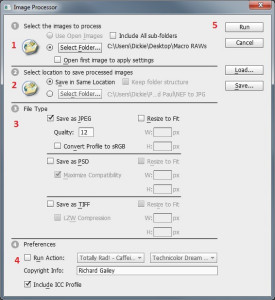
2] Choose where you wish to save the outputted JPG’s. It’s easier to save them in the same location though for convenience. Photoshop will automatically create a separate folder containing these JPG’s.
3] Choose the format that you want to save the RAW files to. In my case it’s JPG’s, but you are given the option to save to TIFF or PSD as well.
4] In the final step, you are also given the option to run an Action on all of the RAW files whilst saving them to the specified format. This can be another big time saver. The other option is to include the ICC Profile (International Colour Consortium) This will be checked by default. I will always keep this checked.
Once you are happy, simply hit RUN, and the conversions will begin. You won’t get a message to tell you that the converting has completed.
As you can see from the finished result, Photoshop has created a separate folder for my newly converted JPG’s, as I elected to save them in the same location. I have just created a video tutorial that some readers may find easier to follow. It’s my first ever one, so I hope it’s OK.